/ Products / ILDA2AVB
ILDA2AVB
Digital Network Protocol

ILDA2AVB

Digital Network Protocol

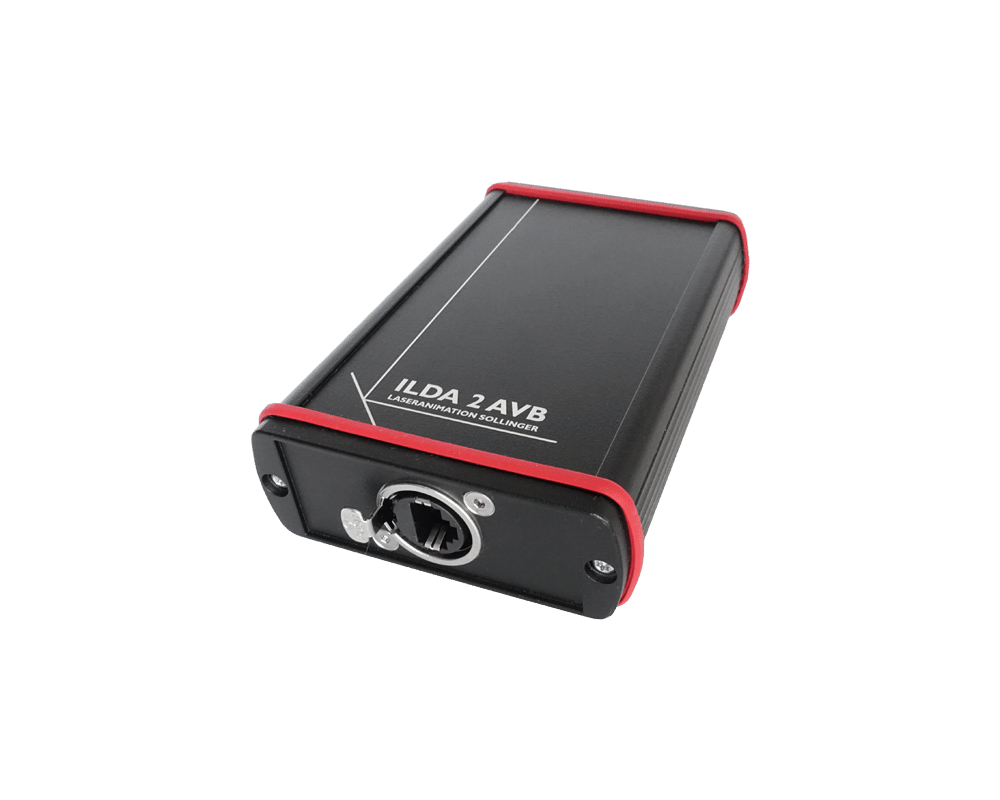
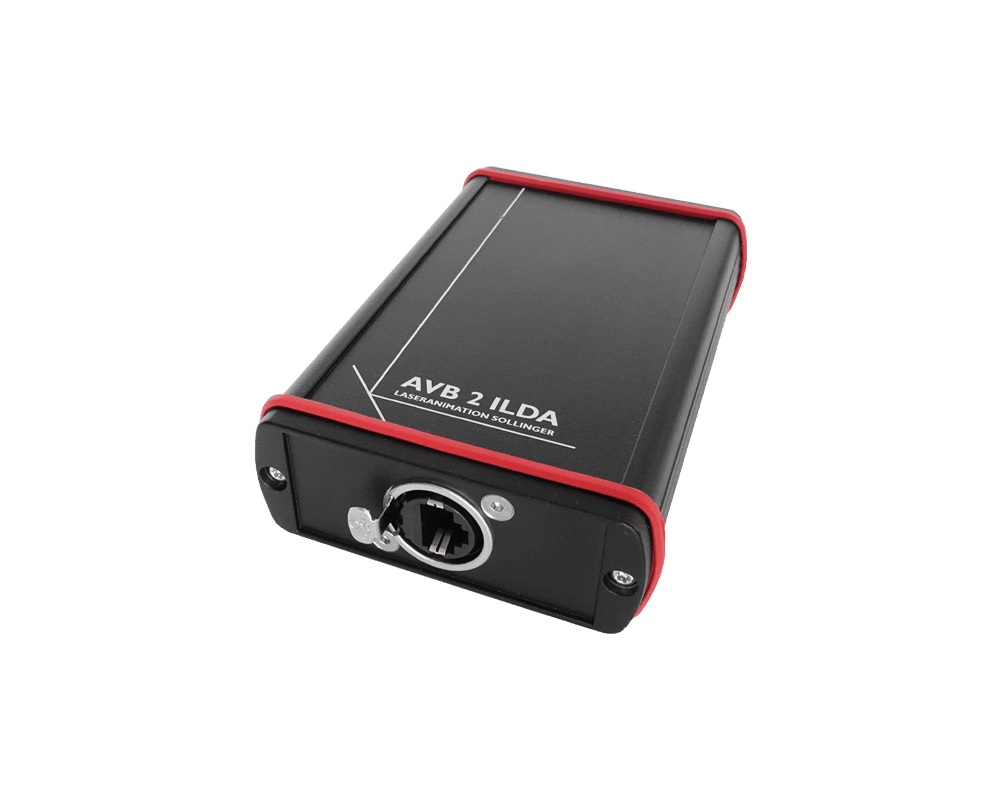
This device converts analog ILDA signals to the digital AVB protocol. It can be used with any laser show controller that has an ILDA output. AVB (Audio Video Bridge) is a digital network protocol for transporting time-sensitive data over Ethernet. It is an industry-standard protocol used in multimedia production to send audio, video, and other data over a network. “Normal” TCP/IP communication can also take place via the same network. AVB (Audio Video Bridge) is a digital network protocol for transporting time-sensitive data over Ethernet. It is an industry-standard protocol used in multimedia production to send audio, video, and other data over a network. “Normal” TCP/IP communication can also take place via the same network.

Control Modes

AVB / TSN, LA.Toolbox

Dimensions
L 13,5 cm x W 8,6 cm x H 3,6 cm
Weight
0.3 kg
IP Rating
IP4X
Scope of Delivery
User manual

Properties

  • Sample rate: 48 / 96 / 192 kHz
  • x/y signal + 6 color channels
  • Resolution 24bit on all channels
  • Power supply via PoE+ Class 3 (5W AVG)
  • etherCON – connector
  • robust housing

LA.Toolbox Software

With this intuitive software it is possible to control important functions of the laser projector and adjust operating values. The LA.Toolbox is available as a PC version and Mac version. Both are supplied with every laser projector and are also available for download.

All functions and parameters / diagnosis of multiple laser projectors can be controlled by one “LA Toolbox” via ethernet. For laser safety the ‘Disable All’ button is integrated to the user interface. The laser output for all connected laser devices is switched off immediately when clicking this button.
For PHAENON X projectors the full functionality of the software is available. For all “Basic” projectors (BLITZ, BLIZZARD, PHAENON) less functions are available.
For all adjustments of the projection an internal test picture can be used in the projection menu. All settings concerning the projection
  • horizontal, vertical size
  • inversion
  • position offset
  • keystone correction and rotation
  • can be exactly adjusted with sliders in the clearly laid out “Projection” menu and saved in 3 different transformation settings.
A timer can be used to switch the state of the laser at a predefined time. For instance the laser can switch from “Run” to “Standby” mode. Drop down menus are used to set the state which the laser is to switch to when a timer triggers as well as the date or date range (from/to), time of day and day of the week. Up to 6 timers can be configured.
All 6 ILDA channels are scalable from 0% to 100% to achieve the best possible white balance. Up to 4 color settings can be saved and called up. The ILDA signals ‘Interlock’ and ‘Intensity’ are evaluated.
Four laser statuses can be selected for laser operation: “Shutdown” I “Standby” I “Test 10%” I “Run”. In the “Shutdown” mode the drivers are deactivated and the temperature control is inactive. This saves considerable amounts of energy. In “Standby” there is no current to the laser sources, which also saves energy. However, in contrast to “Shutdown” their operating temperature is maintained. This has the advantage that switching from “Standby” to “Run” is possible much more quickly. One advantageous option is the automatic “Shutdown” resp. “Standby” function. This switches the laser into the corresponding operating mode in case no ILDA signal is present for a specific adjustable period of time (for instance at the end of a show). The device will use less electricity and cool off better.
Ambient temperature, heat sink temperature, internal and dew point temperature, relative humidity as well as fan voltage are clearly displayed.

The states of all laser sources can be monitored, the power can be scaled and the behavior of the laser with a small modulation signal can be adapted slightly through the “Bias Offset”. This setting allows the best possible adjustment of the effective soft blanking of the Lasergraph DSP.

The states of all laser sources can be monitored, the power can be scaled and the behavior of the laser with a small modulation signal can be adapted slightly through the “Bias Offset”. This setting allows the best possible adjustment of the effective soft blanking of the Lasergraph DSP.

With this new safety technology we give users the option to use a graphics editor to flexibly define protected areas in a laser projection. The editor can be used in way similar to a vector based graphics program to create a mask from geometric shapes (polygons, circles and rectangles). Safety parameters can then be defined individually for each of these shapes.

Two different mask functions are available:
1. Electronic Mask This important function allows limiting the laser output for certain areas. The intensity of the laser beam can be adjusted in a range from 0% to 100% for each individual shape created with the editor. This makes it possible to correctly protect specific scanning areas such as the auditorium or sectors with optical equipment (video beamers, cameras). The big advantage of this mask, which is configured in the projector, compared to a mask generated in the show controller is the fact that programming errors which may occur when a show is edited will not disable the mask.
2. Safety Mask For safety reasons every laser projector is equipped with a scanner safety circuit to protect the audience. This mechanism determines the sum of the scanner velocities for the horizontal and vertical deflection of the beam and compares this to the predefined minimum speed. In case the beam velocity is below the minimum or if the beam is completely motionless this safety mechanism will block the laser beam.

For allowing beam effects with a stationary beam anyway in areas where the audience is not at risk, for instance below the ceiling, the “Safety Mask” can be used to graphically define several areas where a static beam will be possible, see picture. (Up to now only one rectangular safety area could be defined.)

The Phaenon X laser projectors are equipped with a motorized beam adjustment for superposing the beams. This internal component allows an easy and comfortable adjustment of the beam superposition. This is a big advantage of the Phaenon X projectors which users will certainly appreciate.
The position of the individual beams can change over time when the projectors are frequently transported, set up and taken down again. Until now the beams could only be adjusted using the small adjustment screws on the side of the device. In everyday use the projectors are often already installed in a stage setup, e.g. attached to a truss high up, when the laser is turned on and the beam misalignment is discovered. This used to mean the laser had to be taken down again for adjustment. This considerable effort is no longer necessary using the “Beam Adjust” of the LA Toolbox Software.
An optionally integrated grating module can be controlled over DMX or manually with the “Grating Wheel Settings”.
Up to 4 settings can be saved. The DMX base address can easily be configured using the software.

Watch the Animation of the LA.Toolbox Software

On the way to the world. Your new laser projector.

Chat

Contact us directly through our live chat using the chat logo on the bottom left screen corner.

E-Mail

If you have any questions, you can send us an email at any time.

Phone

We would be happy to help you
by phone.
.
To top
0%